

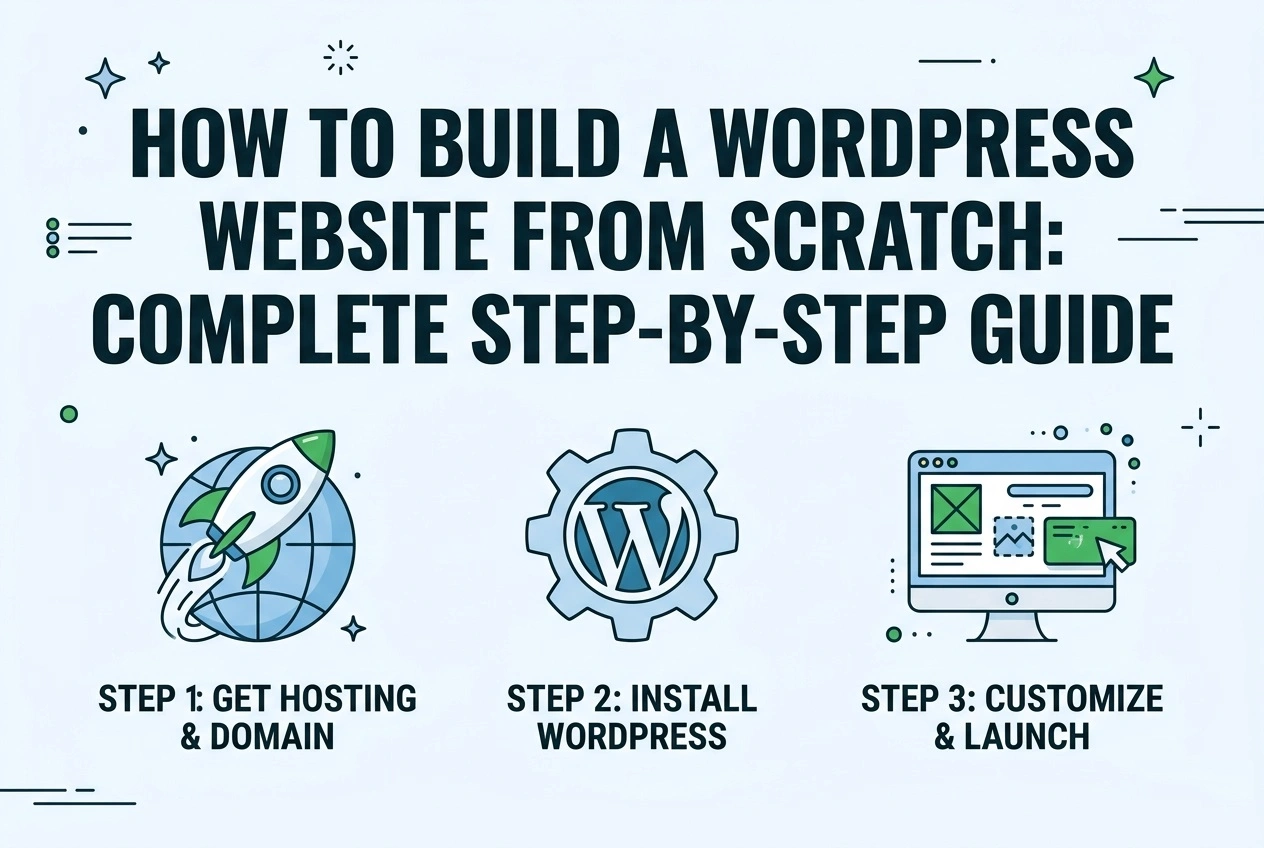
How to Build a WordPress Website From Scratch: Complete Step-by-Step Guide in 2026
Building a website used to require writing code, hiring developers, and spending thousands of dollars. Today you can build a fully professional WordPress website in a single afternoon — even if you have zero technical experience. This guide walks you through every single step with exact settings, recommendations, and best practices.
What You Need Before Starting
Every WordPress website requires three core components. Here is what they are and what you should budget:
- Domain Name: Your website's address (example: yourstore.com). Typically $10–$15 per year.
- Web Hosting: The service that stores your website files and makes them available online. Shared hosting: $3–$10/month. Managed WordPress hosting: $10–$30/month.
- WordPress Software: Free, open-source website building software. Installed with one click from your hosting account.
Total realistic startup cost: Approximately $50–$150 for the first year including domain and hosting. No ongoing per-page fees or percentage commissions unlike website builders.
Step 1: Choose and Register Your Domain Name
How to Choose a Good Domain:
- Keep it short — ideally under 15 characters
- Easy to spell and pronounce — avoid hyphens, numbers, or unusual spellings
- Use .com for most businesses — it remains the most trusted extension
- Include your brand name or primary keyword when possible
- Avoid trademarked terms — they can get your domain seized
Where to Register:
Popular domain registrars include Namecheap, Cloudflare, GoDaddy, and your hosting provider's built-in domain service. Prices are similar across providers — shop for around $10–$15/year with free WHOIS privacy included.
Registration Steps:
- Go to your chosen registrar's website
- Search for your desired domain name
- If available, add to cart and complete registration
- Ensure WHOIS Privacy / Domain Privacy Protection is enabled — this hides your personal address from public databases
- Save your domain login credentials separately from your hosting login
Step 2: Choose and Purchase Web Hosting
What Hosting Plan You Actually Need:
| Website Type | Recommended Plan | Estimated Cost |
|---|---|---|
| Beginner / Small Blog | Shared Hosting — 1 website, ~10GB SSD | $3–$6/month |
| Business / Ecommerce | Managed WordPress or Premium Shared | $8–$20/month |
| High Traffic / Multisite | VPS or Cloud Hosting | $25–$60/month |
Hosting Recommendations by Use Case:
- Best for beginners: Bluehost, SiteGround, or HostGator. All include one-click WordPress installation and free SSL certificates.
- Best for WooCommerce: SiteGround, Nexcess, or WP Engine — better performance and ecommerce features.
- Best budget option: Namecheap or Hostinger — reliable at lower prices, slightly fewer hand-holding features.
What to Look For in Your Hosting Plan:
- One-click WordPress installation — critical for beginners
- Free SSL certificate — required for security and trust
- SSD storage — significantly faster than old-style HDD
- At least 256MB PHP memory limit — many plugins require this
- Daily or weekly backups — protects your work
- 24/7 support — you will need help eventually
- Avoid "Unlimited everything" claims — these always have hidden limits
Step 3: Connect Domain to Hosting
After purchasing both domain and hosting, you must tell your domain where your website files live. This happens through DNS nameservers.
- Log into your hosting account → Look for "Nameservers" or "DNS" section
- Your hosting provider will give you two or three nameserver addresses — example: ns1.bluehost.com, ns2.bluehost.com
- Log into your domain registrar account → Find your domain → Look for "Nameservers" or "Manage DNS"
- Replace the default nameservers with your hosting provider's nameservers
- Save changes. DNS propagation can take anywhere from 15 minutes to 24 hours. Usually completes in 1–2 hours.
Alternative: If you registered your domain through your hosting provider, this step is already done automatically. Skip to Step 4.
Step 4: Install WordPress
Almost every reputable hosting provider includes a one-click WordPress installer. This is the standard, supported way to install WordPress — never download and install it manually unless you have a specific advanced reason.
- Log into your hosting control panel (cPanel or provider dashboard)
- Look for "WordPress," "Softaculous," or "Website" icon labeled WordPress
- Click "Install" or "Install Now"
- Fill out the installation form:
- Domain: Select your domain from the dropdown
- Directory: LEAVE BLANK. Do NOT enter "wordpress" or anything here. Blank means your website appears at yourdomain.com, not yourdomain.com/wordpress.
- Site Name: Your business or website name — can be changed later
- Admin Username: Create a secure username. NEVER use "admin" — it is a security risk.
- Admin Password: Generate a strong password. Save it in a secure place — you will need it to log in.
- Admin Email: Your email address for notifications and password recovery
- Select language — leave default plugins unchecked unless you know what they are
- Click "Install." WordPress installs in 1–3 minutes.
- You receive a confirmation link: yourdomain.com/wp-admin. Bookmark this page — it is where you manage your website.
Step 5: Log In and Configure Essential Settings
Visit yourdomain.com/wp-admin and log in with the username and password you just created. Now configure these critical settings before building any pages.
General Settings:
Go to Settings → General
- Verify Site Title and Tagline — these appear in search results and browser tabs
- Ensure both WordPress Address (URL) and Site Address (URL) start with https:// — if they show http://, change them immediately and save. SSL must be active.
- Set your correct timezone — affects dates and scheduling
- Select your preferred language
- Save Changes
Permalinks (CRITICAL — Do Not Skip):
Go to Settings → Permalinks
- Select Post name — this creates clean, readable URLs like yourdomain.com/about instead of yourdomain.com/?p=123
- Click Save Changes at the bottom — even if it already says Post name, click Save to flush rewrite rules
Reading Settings:
Go to Settings → Reading
- Your homepage displays: Choose "A static page" — then create and select a Homepage and a Posts page later. Leave as "Your latest posts" only if building a blog.
- Search Engine Visibility: Ensure "Discourage search engines..." is UNCHECKED. Checked means Google will ignore your site.
- Save Changes
Discussion Settings:
Go to Settings → Discussion
- Uncheck "Allow people to submit comments on new posts" if you do not need comments
- Save Changes
Step 6: Choose and Install a Theme
A theme controls your website's design, layout, colors, and typography. Thousands of free and premium themes exist.
Recommended Free Themes:
- Astra: Fast, lightweight, works with page builders, fully compatible with WooCommerce. Most recommended for beginners.
- GeneratePress: Extremely fast, clean code, solid foundation for any site.
- Blockbase / Twenty Twenty-Five: Official default WordPress themes — solid, secure, simple.
- Storefront: Official WooCommerce theme — best if building an online store.
How to Install a Theme:
- In WordPress admin → Appearance → Themes → Add New
- Search for "Astra" or your chosen theme
- Click "Install" then "Activate"
- Go to Appearance → Customize. This opens the live customizer where you edit colors, logo, header, footer, and layout with previews.
Premium Themes: Available from $30–$100 one-time or annual subscription. Only buy from reputable marketplaces or official theme websites. Avoid "lifetime deal" themes from unknown sources — they often contain security risks.
Step 7: Install Essential Plugins
Plugins add functionality to WordPress. Think of them like apps for your phone. Install only what you actually need — too many slow down your site.
Must-Have Plugins for EVERY Website:
| Plugin | Purpose | Why You Need It |
|---|---|---|
| Search Engine Optimization | Helps Google understand your content and rank higher | |
| Wordfence or Sucuri | Security Firewall | Blocks hackers, brute-force attacks, and malicious traffic |
| UpdraftPlus | Backups | One-click restore if your site breaks or gets hacked |
| WP Super Cache or W3 Total Cache | Speed Optimization | Makes your website load faster for visitors |
Optional Plugins Based on Purpose:
- WooCommerce: Full ecommerce store — products, cart, checkout, payments
- Contact Form 7 or WPForms: Contact forms so visitors can email you
- Elementor or Beaver Builder: Drag-and-drop page builders — design pages visually without code
- Really Simple SSL: Fixes mixed-content errors and forces HTTPS site-wide
How to Install a Plugin:
- Go to Plugins → Add New
- Search for the plugin name
- Click "Install Now"
- Click "Activate"
- Follow the plugin's setup wizard or go to its settings page to configure
Step 8: Build Your Essential Pages
Every professional website needs these pages. Create them BEFORE setting your homepage.
- Go to Pages → Add New
- Create and publish each page:
- Home: Your main landing page — introduce what you do
- About: Who you are, your background, why customers should trust you
- Services or Shop: What you sell or offer
- Blog: Where your articles appear
- Contact: Contact form, email, phone, location
- Privacy Policy: Required by law in many countries — explains how you handle visitor data
- Terms of Service: Rules for using your website
After publishing your pages, go to Settings → Reading → Your homepage displays → Select "A static page" → Choose your Home page and Posts (Blog) page from the dropdowns → Save Changes.
Step 9: Set Up Navigation Menus
Menus let visitors navigate your website. Set them up once and they appear site-wide automatically.
- Go to Appearance → Menus
- Create a new menu — name it "Main Menu"
- On the left side, check the pages you just created → Click "Add to Menu"
- Drag and drop to reorder them in the order visitors should see
- Under "Menu Settings," check the position: usually "Primary" or "Header Navigation"
- Create a second menu named "Footer Menu" for your legal pages (Privacy Policy, Terms, Contact)
- Click Save Menus
Step 10: Verify SSL and Security
Your website MUST show a padlock icon in the browser address bar. This means SSL is active and data is encrypted.
- Visit your website in a browser. Look at the address bar. Does it show https:// and a padlock?
- If it shows http:// or an unlocked icon: Install the "Really Simple SSL" plugin and activate it. The plugin fixes this automatically.
- Verify your WordPress Address and Site Address in Settings → General both use https://
- Install a security plugin like Wordfence. Run the setup wizard. Enable firewall and login protection.
- Change your admin nickname to something other than your username for extra security.
Step 11: Connect Email and Essential Tools
- Professional Email: Create email addresses like info@yourdomain.com through your hosting provider or Google Workspace. Avoid using Gmail or Yahoo for business — professional email builds trust.
- Google Analytics: Sign up for a free Google Analytics account. Install the tracking code using a plugin like Insert Headers and Footers. See who visits your site and which pages perform best.
- XML Sitemap: SEO plugins like Yoast or Rank Math automatically create a sitemap. Submit it to Google Search Console so Google knows your website exists.
Step 12: Launch Checklist
Before telling the world your website exists, verify every item on this list:
- Domain connected and nameservers propagating
- WordPress installed at root directory (no /wordpress in URL)
- Permalinks set to Post name
- SSL active — padlock shows on all pages
- Essential pages created: Home, About, Contact, Privacy Policy
- Main navigation menu and footer menu built
- All essential plugins installed and activated
- Contact form submits correctly — test it yourself
- Admin email and password are secure and backed up
- Search Engine Visibility is ENABLED (not discouraged)
- Test website on mobile phone — most visitors will be mobile
- Create backup with UpdraftPlus and download a copy to your computer
Common Mistakes Beginners Make
- Using "admin" as username: Hackers target this account automatically. Always choose a unique admin username.
- Installing too many plugins: Every plugin adds potential security risks and slowdowns. Delete plugins you do not use.
- Ignoring updates: WordPress, themes, and plugins show update notifications. Click them. Updates close security holes. Outdated sites get hacked.
- Bad permalinks: If you leave permalinks as "Plain," your URLs look terrible and Google ranks you lower. Change to Post name immediately.
- Forgetting backups: Websites break. Hosting companies go down. Back up your work. UpdraftPlus free version is sufficient for most sites.
- Publishing unfinished content: Set pages to "Draft" until ready. Visitors cannot see drafts but search engines can still index empty pages.
Timeline and Next Steps
- Day 1: Domain + Hosting purchase → DNS setup → WordPress install → Basic settings → Theme selection → Essential pages → Menus → SSL → Launch
- Days 2–7: Add remaining content → Configure SEO → Set up forms → Connect email → Submit sitemap → Install analytics
- Ongoing: Write content regularly → Keep everything updated → Run monthly backups → Monitor traffic → Improve based on visitor behavior
Summary
Building a WordPress website is straightforward when you follow the correct order.
- Domain + Hosting → Connect → Install WordPress → Configure Settings → Choose Theme → Add Plugins → Build Pages → Set Menus → Enable SSL → Launch.
- Start with Astra or GeneratePress theme, UpdraftPlus backups, Wordfence security, and Rank Math or Yoast SEO.
- Set permalinks to Post name and enable SSL — these two settings are non-negotiable.
- Keep it simple. Install only what you actually need. Update everything regularly. Back up your work.
- Your website grows with you. Start clean, build the foundation properly, and add features as you need them.
WordPress gives you full ownership and control — no website builder can lock your content or hold your site hostage. That freedom comes with responsibility: keep it updated, keep it backed up, and keep learning.