

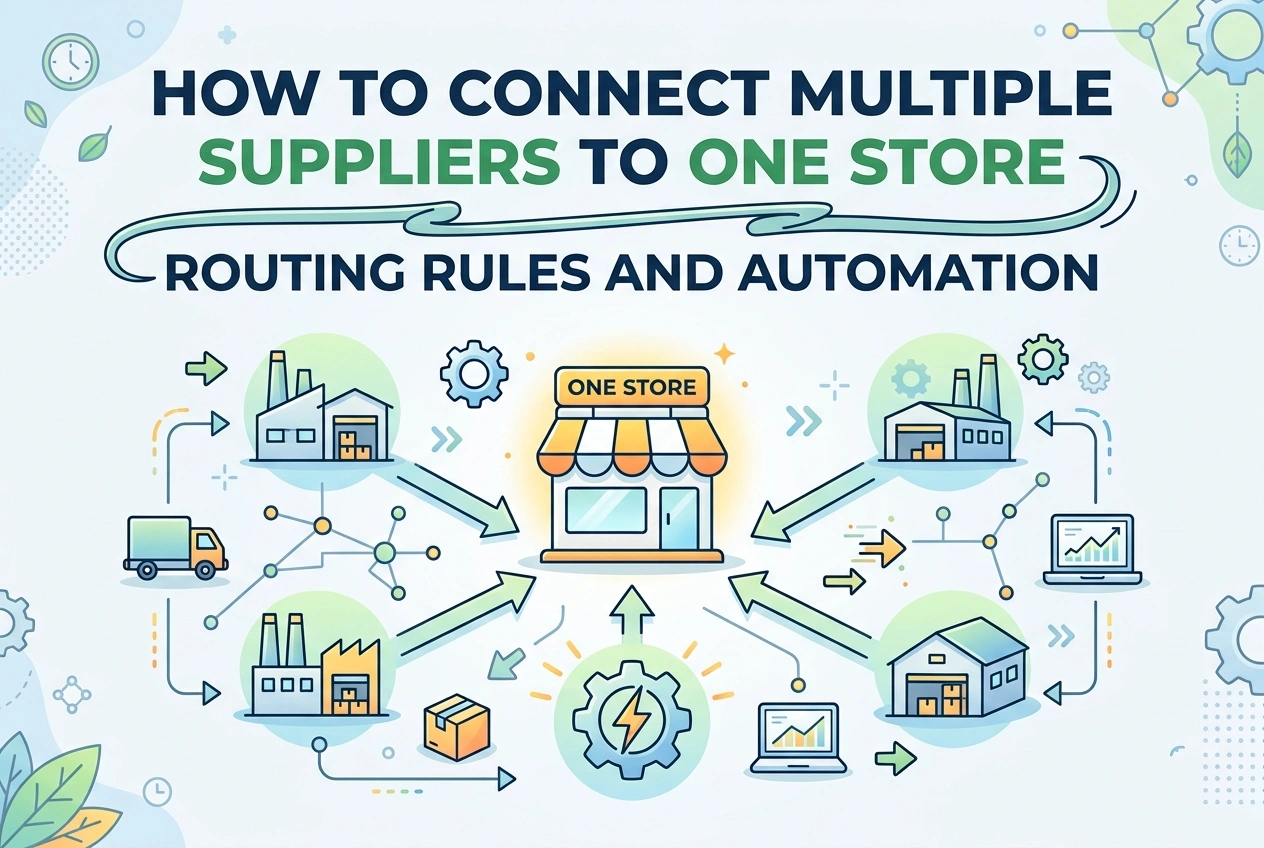
How to Connect Multiple Suppliers to One Store: Routing Rules and Automation
Most sellers start with one supplier. As they grow, they discover Printful excels at apparel, Printify offers better prices on mugs and posters, and CJ Dropshipping provides the lowest cost accessories. The logical next step: use all three in one store. But how do you prevent orders from going to the wrong supplier? How do you avoid duplicates, shipping conflicts, and manual work every time a customer buys something?
This guide explains exactly how to connect multiple suppliers to a single store, create clear routing rules so every product knows where to go, and set up automation that handles fulfillment while you sleep. No more logging into five dashboards every morning.
Core Concept: One Product = One Supplier
Before connecting anything, understand the golden rule that prevents 99 percent of problems:
Each product must be created and managed by exactly one supplier integration.
You do NOT connect the same product to both Printful and Printify. That causes double orders, conflicting shipping rates, and synchronization failures. Instead, you divide your catalog: Product A belongs to Printful, Product B belongs to Printify, Product C belongs to CJ. Each supplier pushes its own products and fulfills only its own orders. They coexist in the same store without conflict.
Step 1: Map Your Routing Strategy
Create this simple spreadsheet once. It becomes your reference for every product you add.
| Product Category | Primary Supplier | Backup Supplier | Reason |
|---|---|---|---|
| T-Shirts & Hoodies | Printful | Printify Premium | Consistent quality, fast shipping |
| Mugs & Drinkware | Printify | Printful EU | Better pricing, wider selection |
| Posters & Canvas | Printify | Printful | Largest size selection |
| Phone Cases & Accessories | CJ Dropshipping | Printify | Lowest cost |
Every product you create belongs to one primary supplier. The backup is defined but inactive — ready only if you need to switch.
Step 2: Connect All Suppliers to Your Store
Shopify Setup:
Shopify supports multiple POD integrations natively. Each works independently.
- Go to Shopify App Store → Search "Printful" → Install → Connect account
- Go to Shopify App Store → Search "Printify" → Install → Connect account
- Go to Shopify App Store → Search "CJ Dropshipping" → Install → Connect account
- Repeat for any additional suppliers
All three integrations run side-by-side. They do not interfere with each other. Each one listens ONLY to products it pushed.
WooCommerce Setup:
Install each supplier's official plugin. Then assign ownership per product.
- Install Printful Integration Plugin → Connect → Enable auto-fulfillment
- Install Printify Integration Plugin → Connect → Enable auto-fulfillment
- Install CJ Dropshipping Plugin → Connect → Configure settings
- When editing ANY product → Look for "Fulfillment by" or "Provider" dropdown → Assign to exactly one supplier
Important Connection Rules:
- Install ALL supplier integrations BEFORE creating products. This ensures the "Fulfillment by" options appear.
- Connect each supplier using your account credentials for that platform.
- Enable "Auto-fulfillment" in EACH supplier's settings. Orders flow automatically only when this is ON.
- Enable live shipping rates in EACH supplier's settings. Shipping calculates correctly per product.
Step 3: Create Products the Right Way
This is where most sellers make mistakes. Follow this exact order:
- Log into Supplier Dashboard (Printful, Printify, or CJ)
- Create the product, upload design, select variants, set price
- Push the product to your store FROM THAT SUPPLIER'S DASHBOARD
- Do NOT edit this product in your store dashboard — edit only in the supplier dashboard
- Verify in your store: Product shows "Fulfilled by Printful" or "Fulfilled by Printify" — confirming assignment
- Repeat for next product using the correct supplier dashboard
Because each product originates from exactly one supplier, your store knows exactly who fulfills it. No routing confusion, no duplicate orders.
Step 4: Shipping Configuration Without Conflicts
When multiple suppliers calculate shipping, conflicts can occur. Configure shipping this way:
Recommended Configuration:
- In Printful settings → Enable live shipping rates → Select which shipping methods to offer
- In Printify settings → Enable live shipping rates → Select which shipping methods to offer
- In CJ settings → Enable live shipping rates OR set flat rates
- In your store shipping settings → Add each supplier as a calculated rate provider
Your store automatically uses the correct supplier's shipping rate based on which product is in the cart. If customer buys one item from Printful AND one from Printify, your store shows BOTH shipping costs combined — or clearly states items ship separately.
Alternative Strategy: Free Shipping Everywhere:
If managing rates across suppliers becomes too complex, build average shipping cost into your product prices and offer free shipping. This eliminates all shipping conflicts entirely. Calculate average shipping for your top destinations, add it to price, and advertise "Free Shipping Worldwide" or "Free Shipping to US."
Step 5: Advanced Routing Rules and Automation
Once basic setup works, you can add rules that automatically route orders based on conditions. This is where the system becomes truly powerful.
Supplier Built-In Routing Features:
- Printify: Has the most powerful routing. You can set rules like: "Always route US orders to US-based suppliers," "If preferred supplier out of stock, auto-route to next highest-rated," "Never use suppliers below 4.5 stars." Configure in Printify Dashboard → My Store → Preferences → Order Routing.
- Printful: Routes to nearest facility automatically. You can specify preferred production location per product or per region.
- CJ Dropshipping: Can route to US warehouse or China warehouse based on destination country.
Custom Automation with Zapier or Similar Tools:
For cross-supplier rules — like "If order destination is EU → route to Printful EU, else route to Printify" — use automation tools.
Example Workflow:
- Trigger: New order created in Shopify/WooCommerce
- Check: Which product was ordered?
- Check: Destination country?
- Action: If product belongs to Printful AND destination in EU → Send order to Printful EU facility
- Action: If product belongs to Printify AND order over $50 → Route to Premium supplier only
You can build ANY rule: by country, by order value, by product category, by customer group, or by time of year.
Step 6: What Happens When a Supplier Runs Out of Stock
Your routing plan must include backup procedures. This is the exact workflow:
- Monitor stock levels weekly in each supplier dashboard
- If primary supplier runs out → Temporarily disable auto-fulfillment for that product
- Create the SAME product in your backup supplier dashboard
- Push it to your store — it replaces the listing OR you reassign fulfillment to backup
- Update shipping rates if backup supplier charges differently
- When primary restocks → Switch back
Because you already have the design file and product details, switching takes minutes. The customer never sees a difference in your store.
Common Problems and Exact Fixes
- Orders not going to the right supplier: Check "Fulfillment by" assignment on that specific product. Blank or wrong = order sits unfulfilled. Fix assignment and manually send the order once.
- Shipping rates missing or showing zero: That supplier's live rates are not enabled in your store shipping zones. Go to store shipping settings → Add rate from that supplier → Save.
- Same product appearing twice: You pushed the same design from two suppliers. Delete one listing. One product = one supplier.
- Tracking numbers not syncing: Some integrations return tracking automatically. Others require manual copy-paste. Place 3–5 test orders after setup to verify tracking flows back to your store.
- Order goes to wrong supplier occasionally: You edited the product in your store instead of the supplier dashboard. Always edit in the supplier dashboard only.
Recommended Full Setup Checklist
- Create routing spreadsheet: Product → Primary Supplier → Backup Supplier
- Install and connect all supplier integrations to your store
- Enable Auto-Fulfillment in EACH supplier's settings
- Enable Live Shipping Rates in EACH supplier's settings
- Create products in supplier dashboards → Push to store → Verify "Fulfilled by" shows correctly
- Place 2–3 test orders per supplier → Verify order reaches correct dashboard
- Verify tracking returns to your store after fulfillment
- Set up backup routing rules in Printify if applicable
- Document stock-check schedule and supplier-switch procedure
Summary
- One product, one supplier. Divide your catalog. Assign each product to exactly one integration. Never push the same product from two suppliers.
- All integrations coexist. Install Printful, Printify, and CJ all in one store. Each fulfills only its own products. No conflict.
- Edit in supplier dashboard only. Prices, photos, and variants must be updated in the supplier dashboard, not your store. Otherwise the link breaks.
- Shipping: Enable live rates per supplier. Or simplify: build shipping into price and offer free shipping to eliminate rate conflicts entirely.
- Automate routing rules. Use Printify's built-in rules or Zapier for cross-supplier logic: route by country, order value, or stock status.
- Test everything. Place test orders. Verify routing, shipping, and tracking. Fix errors before customers encounter them.
Multiple suppliers give you freedom. You are no longer tied to one company's prices, stock levels, or decisions. When you set up clear ownership, edit only in supplier dashboards, and test your workflow, you can run five suppliers from one store with zero daily complexity.