

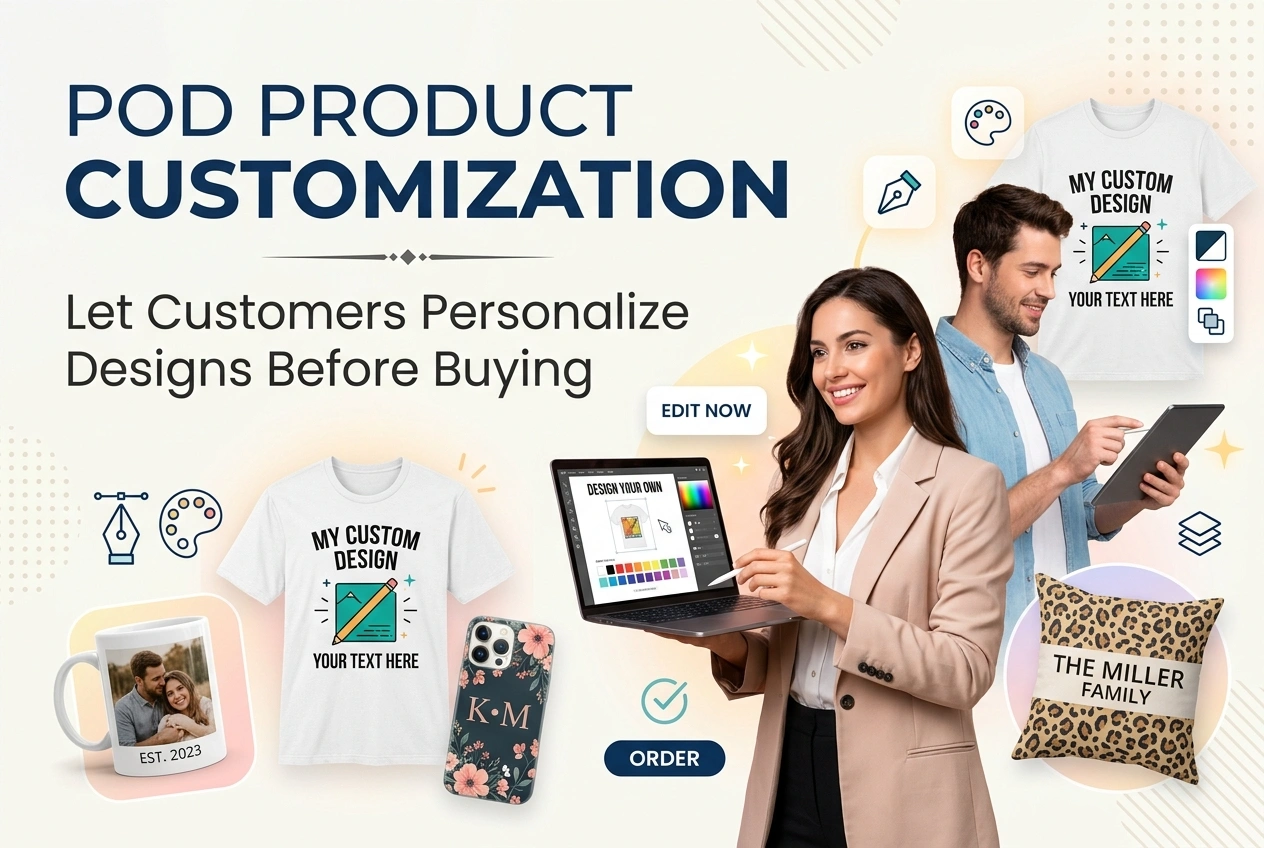
POD Product Customization: Let Customers Personalize Designs Before Buying
Standard designs compete on price. Personalized products command premium prices. When customers can add their own name, choose colors, upload photos, or customize text before buying, they become emotionally attached to the item. They are willing to pay 20–50 percent more, and they rarely return it because it was made specifically for them.
This guide explains how to add product customization to your Print on Demand store. No coding required. What options to offer, which tools work with Printful and Printify, how to set up live previews, and exactly how the custom design reaches your supplier automatically.
Why Offer Customization?
- Higher profit margins: Personalized items sell for 20–50 percent more than identical non-personalized products. Customers pay for the ability to customize.
- Lower return rates: Customized items cannot be resold. Customers understand this and order more carefully. Returns drop significantly.
- Less competition: Most POD sellers use pre-made designs. Offering personalization sets you apart immediately.
- Emotional connection: Customers design it themselves. They value it more and share it with others.
- Gift appeal: Personalized items are natural gifts. Holidays and special occasions become your busiest seasons.
Types of Customization You Can Offer
1. Text Customization — Most Common and Easiest
Customer types their own text. You print it exactly as entered.
- Examples: Names, initials, monograms, dates, quotes, messages
- Options: Font selection, text color, placement position
- Best for: Apparel, mugs, jewelry, home decor, gifts
- Implementation difficulty: Easy
2. Image or Photo Upload
Customer uploads their own photo or image. You print it on the product.
- Examples: Family photos, pet portraits, company logos, artwork
- Requirements: File format guidance, size limits, preview capability
- Best for: Photo gifts, pet products, corporate items, keepsakes
- Implementation difficulty: Moderate
3. Design Elements and Selections
Customer chooses from your pre-made options to build the final look.
- Examples: Select font, pick text color, choose graphic, select layout
- Customer does not create from scratch — they combine your elements
- Best for: Holiday products, family names, monogram styles
- Implementation difficulty: Moderate
4. Full Design Studio — Advanced
Powerful visual editor. Customers add text, upload images, move elements around, change backgrounds, and see exact preview.
- Best for: Serious stores, high-volume gift shops, premium pricing
- Implementation difficulty: Advanced — requires dedicated software
How It Works: The Full Workflow
Understanding this flow helps you choose the right tools and avoid surprises.
- Customer selects product → chooses size and color
- Enters text, selects font, picks color, or uploads image
- Sees live preview of exactly what they will receive
- Pays your price which includes customization fee
- Customization details and merged design file sent to your store dashboard
- Order automatically sent to Printful or Printify with the custom file
- Supplier prints and ships — exactly as customer designed
Or in some workflows: You review the custom file first, approve it, then send to supplier. Recommended for photo uploads or complex designs.
Platform-Specific Setup Options
Shopify:
Shopify has the widest selection of personalization apps. All integrate smoothly with Printful, Printify, and CJ Dropshipping.
| App | Best For | Capabilities | Approx Price |
|---|---|---|---|
| Printful Custom Product Designer | Direct integration with Printful | Text, images, pre-made designs, live preview | Included with Printful |
| Zakeke | Full 3D design studio | Text, uploads, templates, 3D preview, fonts, colors | Free up to 10 orders/mo, then $10–$50/mo |
| Lumise | Advanced design tool | Complete editor, SVG support, templates | One-time purchase ~$150 or subscription |
| Product Personalizer | Simple text & images | Text fields, image upload, basic preview | Free – $10/mo |
Recommendation for Shopify + Printful: Start with Printful's own Custom Product Designer. It connects directly without extra monthly fees. Add Zakeke if you need more design features.
WooCommerce:
Use plugins that add custom fields and generate print-ready files.
- Advanced Product Fields or Product Add-Ons: Simple text fields, dropdowns, image uploads. No live preview but reliable. Free or low cost.
- Lumise or Fancy Product Designer: Full design studio with live preview. Premium plugins, one-time purchase.
- Printful/Printify Plugin: Receives custom text and merged design file automatically.
Etsy:
Etsy does not support third-party design tools directly. Two workarounds:
- Option A: Use listing variations and personalization box. Customer enters text into Etsy's personalization field. You manually create the design and send to Printful/Printify.
- Option B: Link to external design tool on your website. Etsy allows external links in some cases but traffic leaves Etsy platform.
Recommendation for Etsy: Start with Etsy's built-in personalization field. Once established, consider Shopify or WooCommerce for full design capability.
Step-by-Step: Text Personalization with Printful
Printful includes a free Custom Product Designer. This is the easiest way to start — no monthly fees, direct integration.
- In Printful Dashboard → Stores → Select your store → Custom Product Designer
- Enable the feature for your store
- Create or edit a product in Printful
- Enable "Allow personalization"
- Add personalization fields:
- Field name: e.g., "Name," "Date," "Initials"
- Input type: Text field, dropdown, or color picker
- Text limits: Minimum and maximum characters (e.g., 2–12 characters)
- Font options: Select which fonts customers may use
- Text color options: Choose available colors
- Placement: Which side of product, position, and size relative to design
- Set price markup: How much extra you charge for personalization — e.g., +$3.00
- Push product to your store. Personalization fields appear automatically on the product page.
- Customer enters text → sees preview → orders → merged design file automatically sent to Printful → they print and ship
Step-by-Step: Image Uploads and Full Design
For photo uploads or full design capability, use Zakeke, Lumise, or similar tools.
- Install and activate the design tool in your store
- Connect to Printful or Printify via API within the tool settings
- Select which products support personalization
- Define printable area: Exact dimensions where design appears
- Enable features: Text, image upload, font library, color palette, pre-made templates
- Set pricing rules: Extra charge per feature or flat fee
- Test: Design something → place test order → verify merged file reaches Printful/Printify correctly
Rules and Guidelines You Must Display
Personalization requires clear instructions. Every custom product page must show these guidelines:
- Text limits: "Maximum 12 characters" or "Up to 3 lines of text"
- Font choices: Show available fonts or state "Font as shown"
- Capitalization: "All caps" or "As entered" — clarify if you will adjust case
- Spelling and accuracy: "Please double-check spelling. We print exactly as entered."
- Color matching: "Colors may vary slightly due to screen differences"
- File requirements (for uploads): "High-resolution PNG or JPG, transparent background, 300 DPI minimum"
- Return policy: "Personalized items cannot be returned unless defective"
Pricing Strategy for Custom Products
Do not absorb customization costs. Charge appropriately.
- Simple text personalization: Add $3.00–$5.00 to base price
- Photo or image upload: Add $5.00–$10.00 to base price
- Complex design or multiple elements: Add $8.00–$15.00 to base price
- Premium fonts or layouts: Small additional premium
Customers happily pay this premium. They are buying a one-of-a-kind item, not a mass-produced print.
Quality Control and Workflow Options
Automatic Approval (Recommended for Text Only):
Customer enters text → system merges design → sent directly to supplier. Zero daily work. Fastest fulfillment. Best for names, dates, simple text.
Manual Approval (Recommended for Photos/Uploads):
Customer uploads → order appears in your dashboard → you review → approve or request changes → sent to supplier. Prevents bad files, inappropriate images, or obvious errors. Adds 1–2 hours to workflow but avoids costly mistakes.
Common Mistakes to Avoid
- Unlimited text length: If you allow 50 characters on a business card, the text will be microscopic. Always set reasonable character limits.
- No preview: Never accept personalization without showing the customer exactly what it will look like. Errors happen and customers blame you.
- Allowing inappropriate content: Photo uploads risk offensive or copyrighted images. Use manual approval or content moderation tools.
- Ignoring copyright: Do not allow customers to upload copyrighted characters, logos, or celebrity images. You are responsible for what is printed. Add a clause: "You confirm you own rights to uploaded content."
- Forgetting returns policy: Personalized items are non-returnable. State this clearly BEFORE checkout. It reduces disputes significantly.
- Font readability: Fancy script fonts become unreadable at small sizes. Test every font at minimum and maximum text length.
Recommended Getting Started Plan
- Start simple: Add text personalization to your best-selling product using Printful's free designer
- Set character limits, font options, and price premium
- Publish and test the full flow yourself
- Add clear guidelines and non-return policy notice
- Monitor orders for 2 weeks — check designs before they print
- Add photo uploads or full design tools once you are comfortable with text personalization
Summary
- Personalization = higher prices + lower returns + less competition. Customers pay premium to make it theirs.
- Start simple: Text fields first. Use Printful's built-in designer — no monthly fees, direct integration.
- Upgrade gradually: Add Zakeke or Lumise for photo uploads and full design capability once you see demand.
- Set clear rules: Character limits, spelling confirmation, file requirements, and non-return policy. Prevent disputes upfront.
- Choose workflow: Auto-approve text → manual-approve photos. Balance speed and quality control.
- Price fairly: Add $3–$10 premium depending on complexity. Customers pay it gladly.
Personalization is the single best way to differentiate your store from thousands of others. Start with simple text fields. Add photo uploads later. As customers design their own items, they stop comparing prices and start valuing the unique product they created. That is where your profit grows.